In this post, I’ll show you EXACTLY how to create Parallax Scrolling Effect with Elementor for your WordPress website by using Royal Elementor Addons.

First things first:
To follow along with this go-to guidebook for adding Parallax Effect to your Elementor website, you will need to install Royal Elementor Addons (500,000+ active installations).
Fortunately, this is as easy as it sounds.
Click Add New Plugin in your dashboard’s Plugins section.
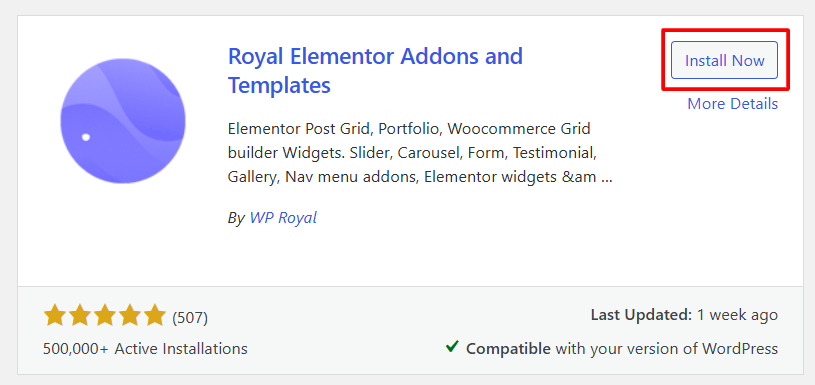
Search for Royal Elementor Addons, click Install Now and activate the plugin.
Now you are ready to learn how to create a cool parallax effect for your website.
What Is the Parallax Effect and Why to Use It?
The parallax effect is a widely used design feature in WordPress websites.
It creates a scrolling illusion where background images move more slowly than foreground elements, adding depth and a 3D-like feel to a 2D space.
Parallax Effect:
- adds depth and interactivity, keeping visitors visually captivated;
- retains users by making your website more dynamic and enjoyable;
- creates an immersive storytelling experience.
Now let’s create a parallax effect using Royal Elementor Addons.
Step 1. Choose a Section and Add Parallax Effect
To bring parallax magic to your Elementor website, start by selecting the section you want to enhance.
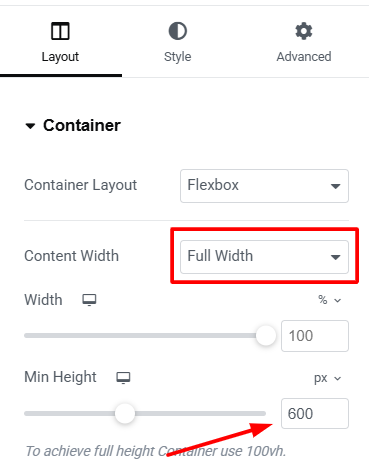
From the edit section in the layouts panel set the Content Width feature to Full Width and the Minimum Height to 600 pixels.
It’s an important thing to remember that parallax effect is not a widget that you can drag and drop into your section.
It is an extension which you can apply to any Elementor section you want.
The Parallax Effect is now working:

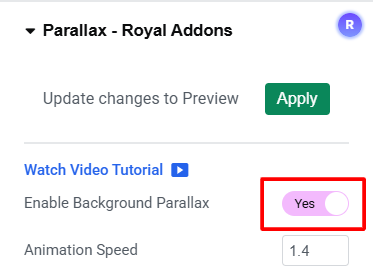
In order to do so, go to Style section in your settings and enable background parallax feature.
Right now you don’t have any background for your section, so choose an image and click on apply changes.
But to make it even look better you can add a text to your section.
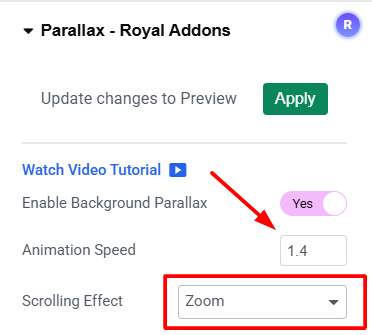
In Styles settings you have a couple features you can customize and one of them is Scrolling Effect.
There are different options, some of them only work in Pro Version.
More about it later.
From there you can also control the Animation Speed.
Step 2. Use Multi-Layer Parallax to Add Depth & Movement to Your Website
Let’s go back to the settings and overview another free extension – Multi-Layer Parallax.
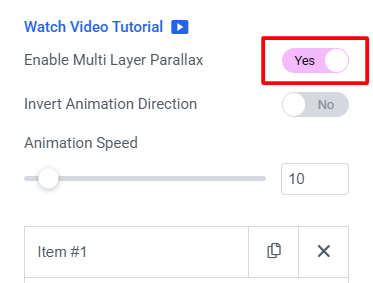
If you enable this feature suddenly you’ll have two more items on your Parallax section.
You can choose an image for each of them and set Horizontal and Vertical positions.
Then change Date Depth value (which defines how much the item will react to mouse hover) and apply changes.
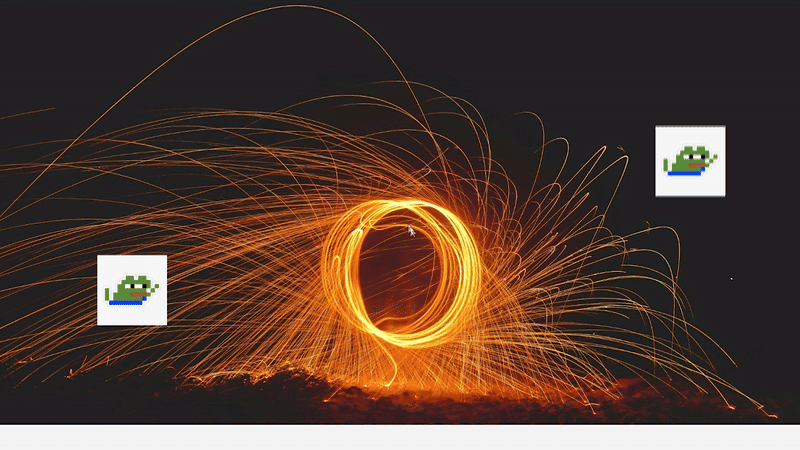
Now you have this really cool Multi-Layer Parallax effect (with Pepes):
It’s time to quickly check the additional features that come with Pro Version of Royal Elementor Addons.
Unlock Advanced Parallax Features with the Pro Version
If you activate the Pro Version of Royal Elementor Addons, you’ll have several additional features to your Parallax Effect.
First, in Scrolling Effect you have more options available:
- opacity, where the background will slowly fade out on scroll;
- scale opacity combines the scale and opacity effects;
- scroll opacity enhances the standard parallax and opacity effect.
Second, in Pro Version you are not limited to two items in Multi-Layer Parallax, which means that you can add as many items to your section as you’d like.
That’s it for today’s guide.
If you have any questions please comment below or go to our support forum.
You can download the Plugin or upgrade to the Pro Version on the Home page of our website.
See you in the next one.