Today you’re going to learn how to add an Instagram feed widget with Elementor to your WordPress website using Royal Elementor Addons free widget.
Check out our step-by-step video tutorial down below:
Step 1: Easily Add the Instagram Feed to Your Elementor Website
Here’s the deal:
To follow along with this ultimate guide to adding Instagram feed to your Elementor website, you will need to install Royal Elementor addons (500,000+ active installations).
Fortunately, this is as easy as it sounds.
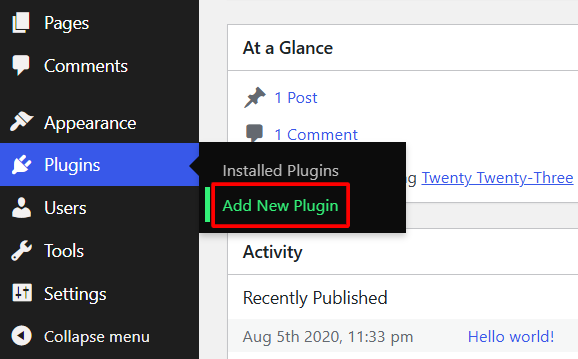
Click Add New Plugin in your dashboard’s Plugins section.
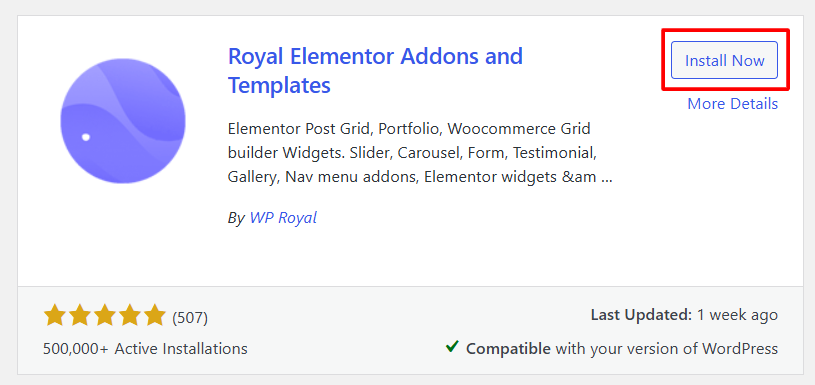
Search for Royal Elementor Addons, click Install Now and activate the plugin.
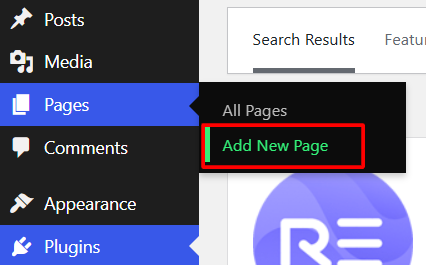
Now that you’ve installed Royal Elementor Addons, go to Pages on your WordPress dashboard and add a new page Instagram feed (you can call it whatever you want).
It is a completely blank page, so click on edit with Elementor.
First things first:
find the Instagram feed widget and drag and drop it into your canvas.
Next you need to get the access token from Instagram, so here comes step 2.
Step 2: Authorize Your Instagram Account
Go to developers.facebook.com.
Then Get started (sign in) with your Facebook account.
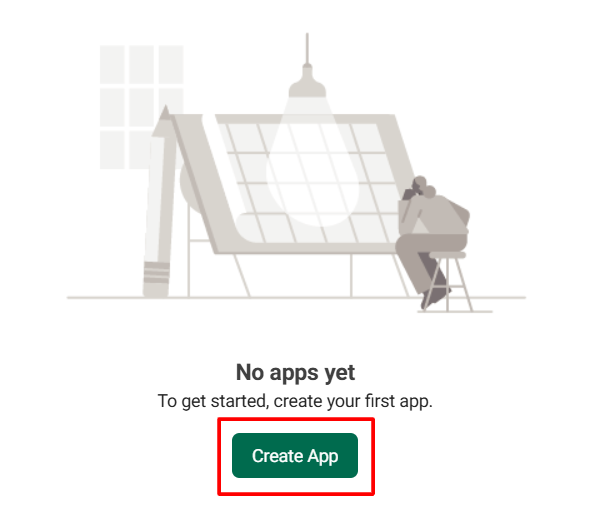
And click on Create App.
Enter the app name and click on next.
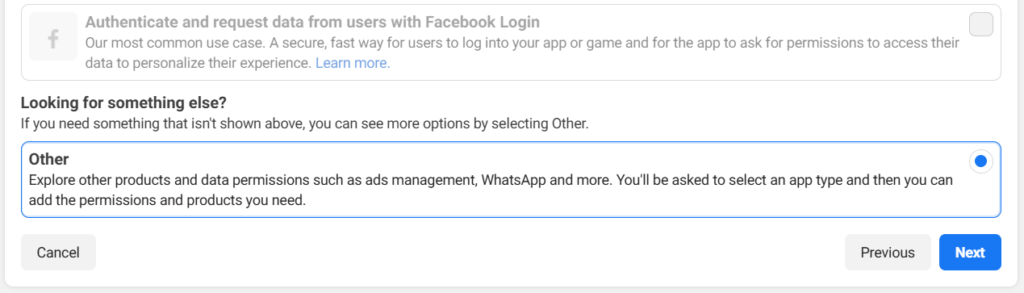
In the use cases section choose other and click on next again.
In app type select business, click next and create an app.
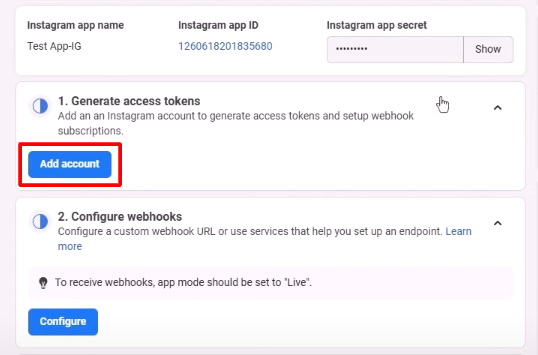
Now click on Instagram setup.
To generate an access token you need to add your Instagram account, so click on add account and continue.
You’ll have to log in to your Instagram account and allow access.
Finally, click on generate token.
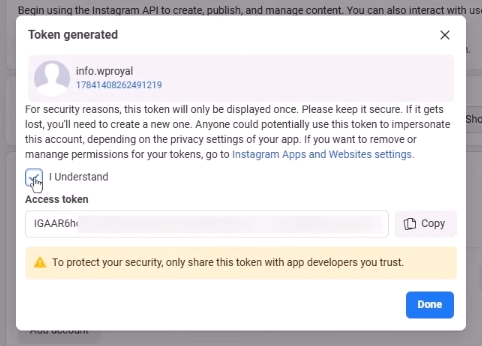
You’ll have to log in to Instagram one more time.
Then just check the I understand box, copy the token and save it somewhere.
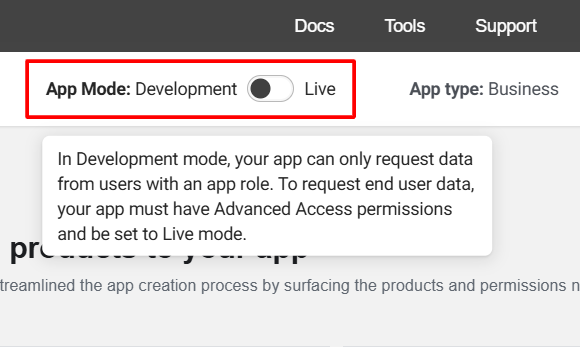
Now you have your token, so you need to switch your app from development mode to live.
To do so click the switch button and go to basic settings.
Now you need to enter the URL of the privacy policy page of your website and click on Save changes.
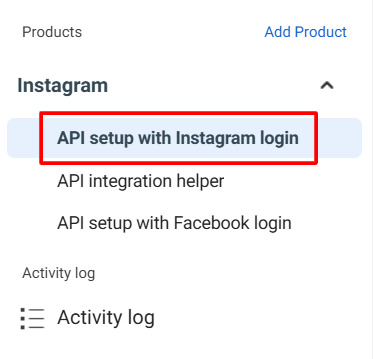
Next click on the Instagram drop-down on the left side and go to API setup with Instagram login.
Now if you click on that switch button again, your app will actually go from development to live mode.
All right!
You have already generated the access token and saved it somewhere.
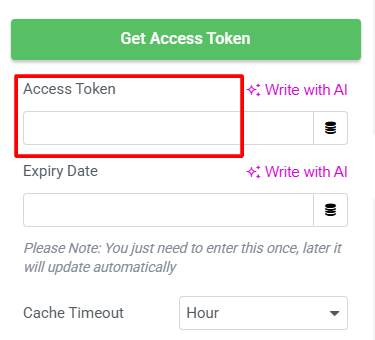
So go back to your website and paste the access token.
You see that now your Instagram feed widget is fetching some posts from your Instagram page.
Finally enter some random large number in the expired date field and that’s it.
Keep reading — here’s where the fun part begins…
Custom Feature #1: Create Different Instagram Feed Layouts to Engage Visitors
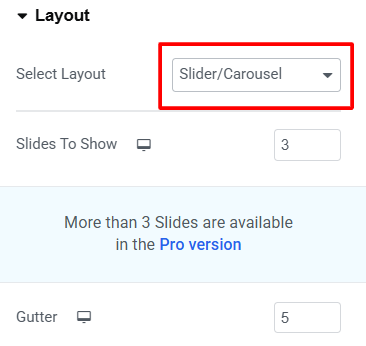
First go to the layout section and select the desired layout.
The default one is greed, but you can choose the Slider/Carousel, for example.
Sometimes you might need to update and refresh the page to see the changes.
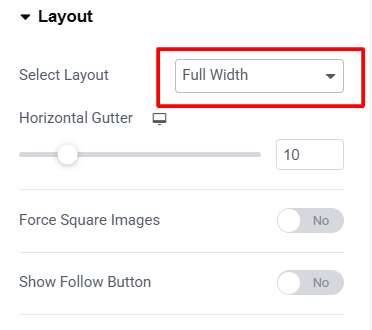
Now go back to the layout section and this time choose the full width.
The content width takes up the entire width of the section, so edit the section itself to make it full width.
Now you can see that the Instagram widget takes the entire sections’ width.
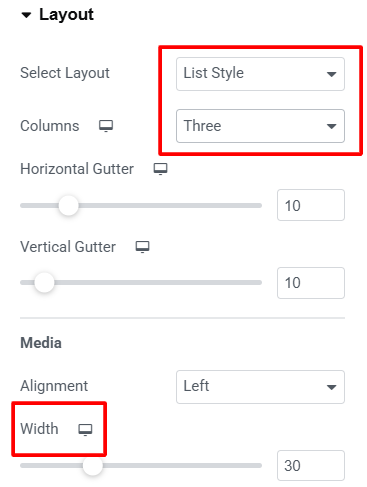
Go back to layout again and for this time try the list style.
You can change the number of columns and adjust the media width as well.
There’s also a Masonry grid, which you can try if you like.
Now go back to the grid layout and set the columns to three again.
Custom Feature #2: Boost Engagement with Pagination and Follow Buttons
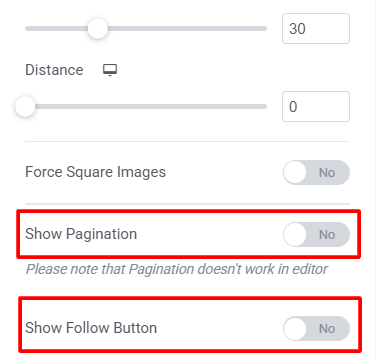
Under the layout section, you can activate the show pagination feature, which displays the Load more button.
There’s also a button available for the Show follow feature.
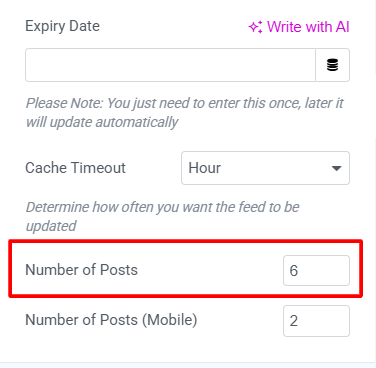
Go back to the Integration section and change the number of posts displayed by default to three.
Then click on preview changes — it works perfectly fine.
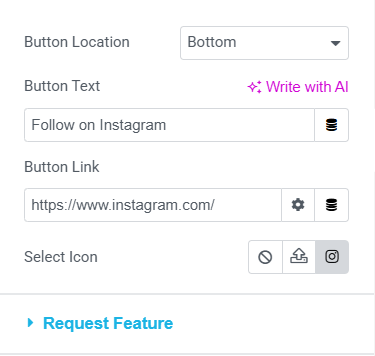
Now let’s go to the Follow button settings.
Here you can change the link of the button to your Instagram page where others can follow you.
You can change the button text as well.
Custom Feature #3: Add, Remove, and Rearrange Instagram Feed Elements
On to the next one!
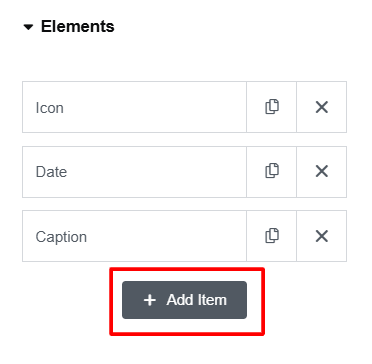
Go to the Element Section, where you can add some additional elements to your Instagram post.
Click on add item and in select item.

You can add things like username, caption, date, icon, light box and few others.
So choose the username, for example, and now it shows the Instagram username.
If you click on the item itself you can set the location of the username (horizontal alignment or manually).
There’s also an option to apply the animation — it will display the element when someone hovers over the media.
Keep in mind that you can apply the alignment and location settings to any other element.
In media overlay settings you can change the overlay width and height.
Last but not least: let’s see how the light box works!
Bonus #1: Enable Lightbox for a Seamless Viewing Experience
Go to the Elements section and select the Lightbox instead of username.
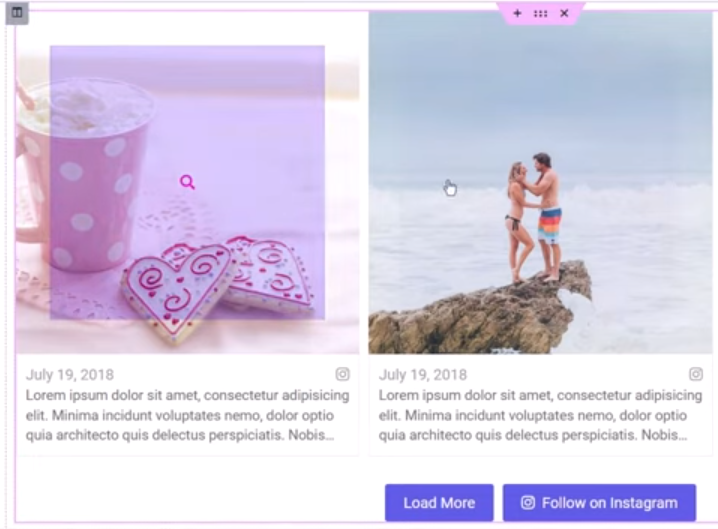
Now when you hover over the media it shows the zoom icon.
If you go to preview mode and click on the media itself, tt will display images as a nice lightbox with slide animation.
Bonus #2: Add Visual Flair with Professional Image Effects
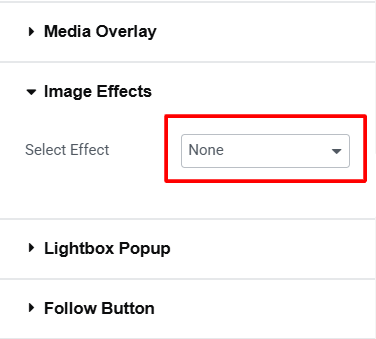
You can also add some effects to your images.
By default it is set to none, but let’s see, for example, how zoom in or zoom out works.
Basically it adds some nice animations to your images on mouse hover and there’s plenty to choose from.
But that’s not all…
In the next part of this go-to guidebook I’ll show you some of the premium features in Royal Elementor Addons.
Bonus #3: Unlock the Full Potential of Your Instagram Feed With Pro Features
The free version is limited to a maximum of six posts.
In the Pro version you can display as many posts as you’d like.
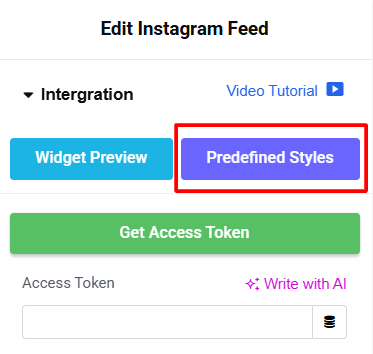
Premium version also comes with predefined styles, so you won’t have to worry about adjusting settings.
Just preview them and once you find the one you like, click on insert.
Now we can go to the Elements section and click on add item.
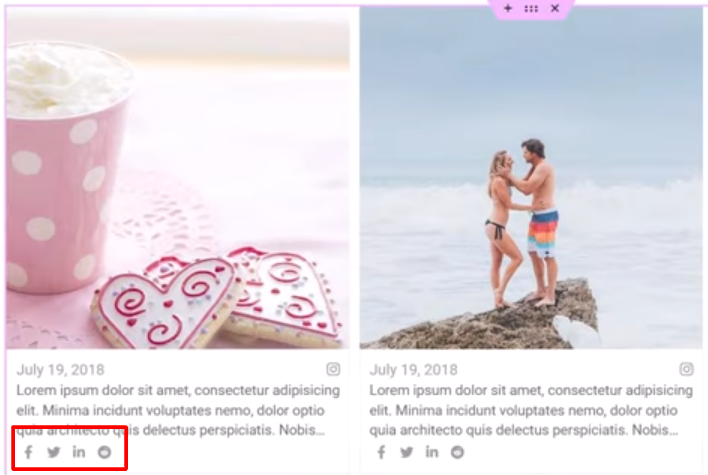
The sharing feature will add the social media sharing buttons to your Instagram posts.
That’s pretty much it.
There are more premium features that you can check on Royal Elementor addons official website.
If you have any questions please comment below or go to our support forum.
You can download the Plugin or upgrade to the Pro version on the Home page of our website.
See you in the next one.